VirtualBox is a server virtualization solution provided by Oracle. (Former Sun product.) A software that makes a computer into a host that can run multiple separated operating systems concurrently. This means that several machines can run on the same hardware. The important thing is that unlike other virtualization solutions it's base version is for free, so anybody can use this leading edge technology without fee.
There are several practical usage of this technology but two cases worth mentioning:
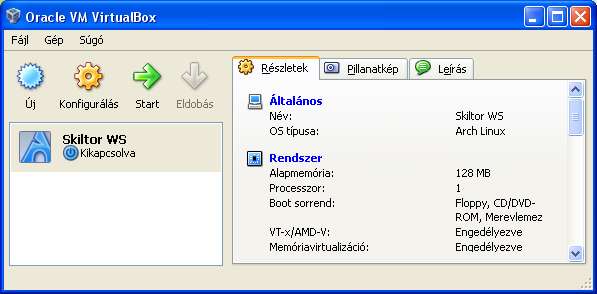
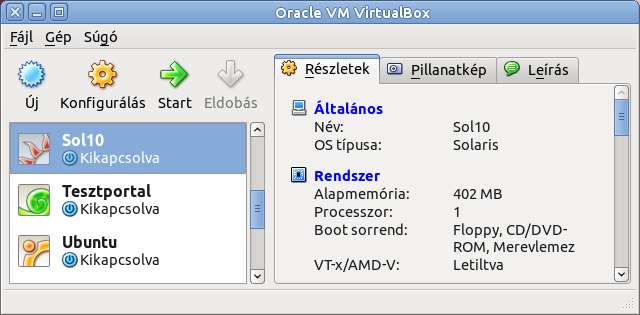
VirtualBox can be installed as any other software. Simply download the installer and run it. The installer finishes within a few minutes and you can start to use virtualBox immediately. After starting the program a graphical user interface shows the available virtual machines. They can be started/stopped with only a few clicks:
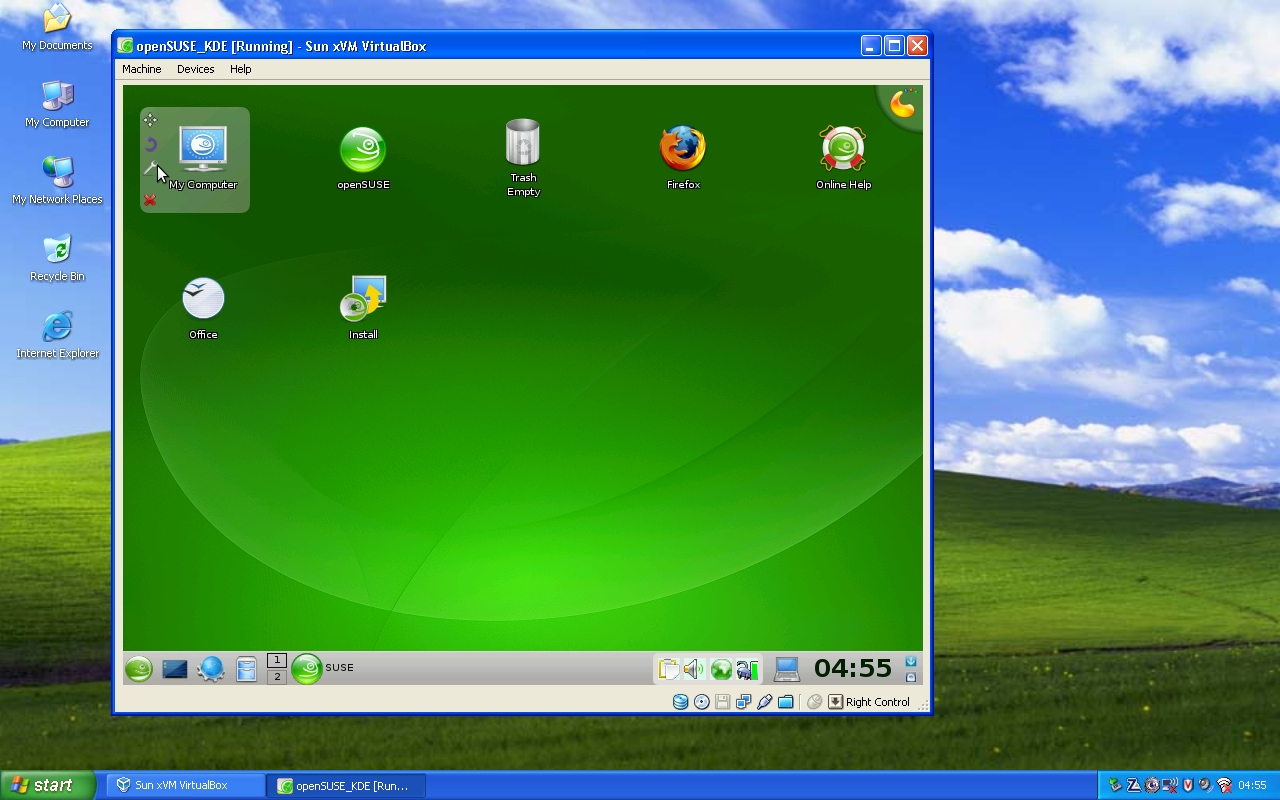
When a virtual machine is started a new window appeares which acts as the monitor of the virtual machine. This windows shows everything that would be shown on the display screen. Clicking inside the window VirtualBox transfers mouse and keyboard control to the virtual machine so you can use the machine as normal. When you wish to transfer input control back to the host operating system you only have to press right Control key once. (This is written out in an alert box by VirtualBox, it notifies you when control is transferred.) The picture below shows as a SuSe Linux runs on a Windows host.
Virtual machines can be run in full screen too. The mode switching back and forth is done by pressing right Control+f.
There are no virtual machines defined by default after installation of course. They must be created. This requires two steps:
The vdi file can be empty but it may contain a preinstalled system too. Like the Skiltor servers. Many other systems including various preinstalled empty operating systems are available and downloadable from Internet as vdi files.
If you want to install an operating system to a virtual machine (technically to the vdi file), you have to proceed exactly the same way as with a physical machine. A newly created empty vdi file behaves like an empty hard drive. In this case the installation media (which can be the CD/DVD drive of the host machine or a CD/DVD ISO file) must be added to the virtual machine as a virtual CD/DVD drive. After this the only thing you have to do is to turn on the virtual machine and the installer will boot immediately. Everything will be the same as in "normal" cases.
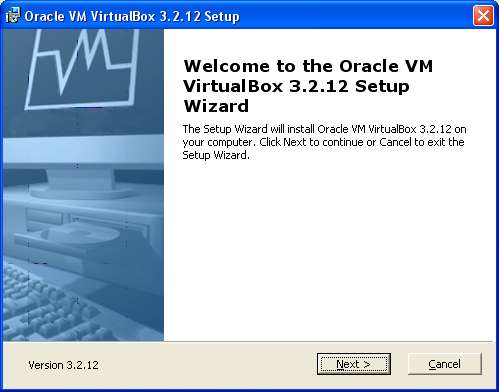
The installation is very simple, the defaults can be used when installing VirtualBox. This means that clicking "Next", "Ok" and "Install" buttons until the process finishes is sufficient. The steps listed herein are for demonstration purposes only. They shows how to install the 3.1.12 PUEL version of VirtualBox. However the differences between the installation process of different VirtualBox versions are minimal so these steps may be used as a guideline for every version.
1. Download the VirtualBox installer from VirtualBox homepage that corresponds to your operating system and run it. Starting with version 4.0, VirtualBox is split into two pieces. The base package is licensed under the GPL. If you need extra features they are available as an additional extension pack. The extension pack is under the PUEL license.
2. After starting the installer a status bar will appear for a short period of time. Nothing to do with it, you only have to wait.
3. The welcome screen appears. Click the "Next" button.

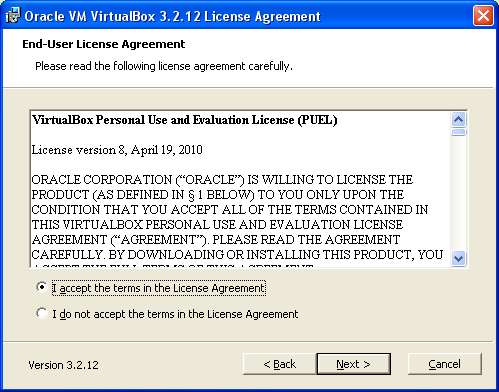
4. The licence page follows. Check the "accept" option and click "Next" button.

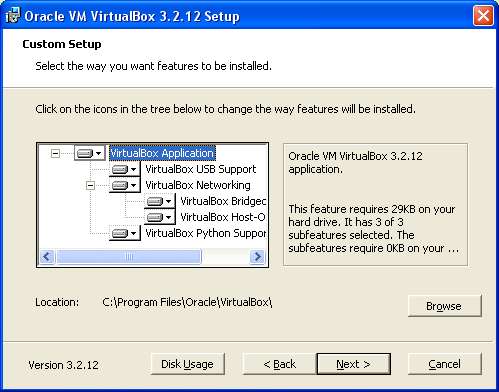
5. If you wish to change the default settings or if you wish to install VirtualBox to another folder than default you can do it on this page. This is rarely necessary. Leave the defaults on and click "Next".
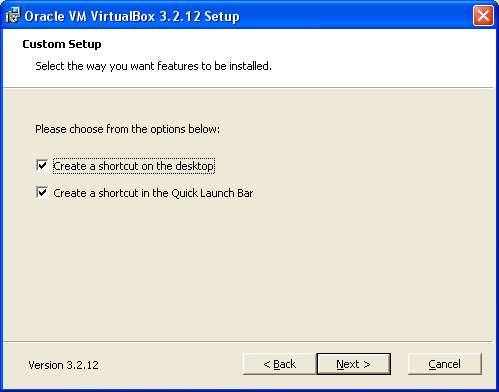
6. You can choose whether you want to place VirtualBox icon onto the Desktop ot to the Quick Launch Bar. Click "Next".
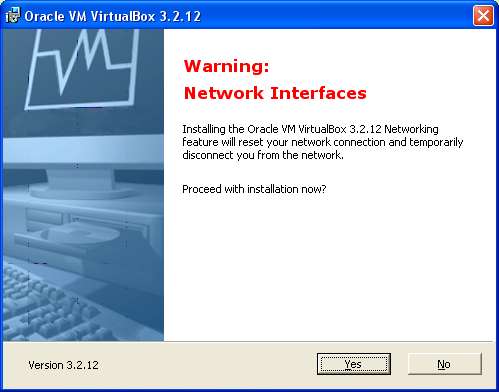
7. A warning appears notifying you that network connections may broke during installation. (VirtualBox installs its own network manager wich will share the physical network adapter between the virtual machines and the host machine. To achieve this the installer needs to stop the network services and restart them.) "Next".
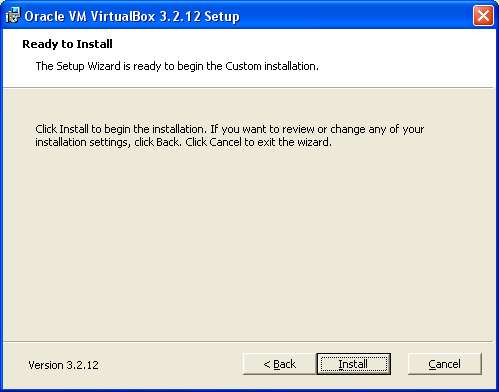
8. You have just finished the setup part. VirtualBox is ready for installation. Click on the "Install" button.
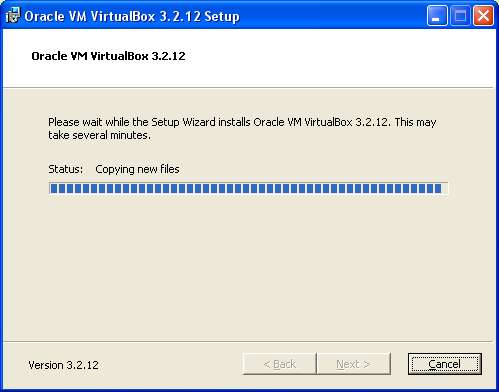
9. The installation starts and a status bar follows the process. You only have to wait.
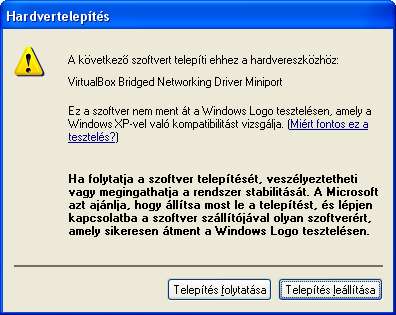
10. During installation a warning message appears several times telling you that the software component hasn't passed Microsoft certification. This is only a warning, not an error. Click "Continue" each time.
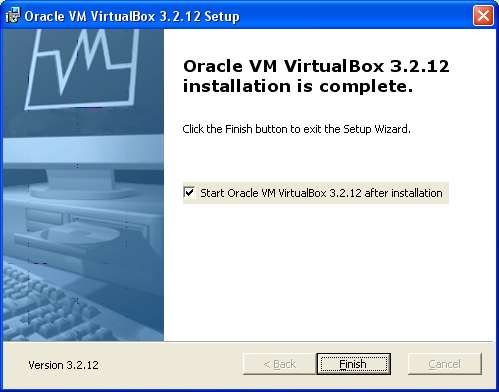
11. At the end of installation you may choose whether you wish to start VirtualBox immediately after the installer exits or not. Set the checkbox at your choice and click "Finish" button. The installation is now over.
1. If you have choosed "Start after installation" at the last step of the installation process, VirtualBox opening page will immediately appear. If you haven't choosed this option, please start VirtualBox either from Start menu or with the icon on the Destop.
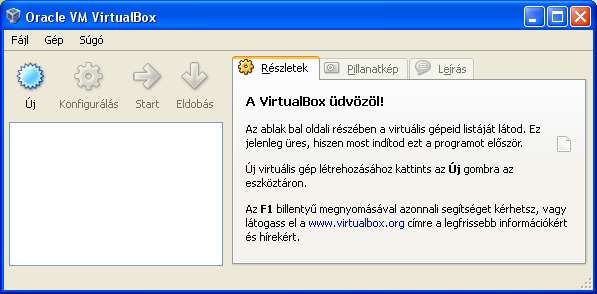
2. VirtualBox is now "empty", no virtual machines defined. In order to make a new virtual machine first of all you will need a vdi file. Download the Skiltor Web Server vdi file which contains a pre-installed Arch Linux operating system. (You may download another vdi files with pre-installed operating systems from the Internet or you may create an empty one and install an operating system into it by yourself of course. However, the steps required to achieve this are not covered by this document.)
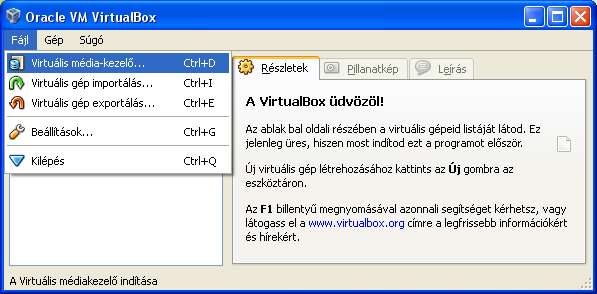
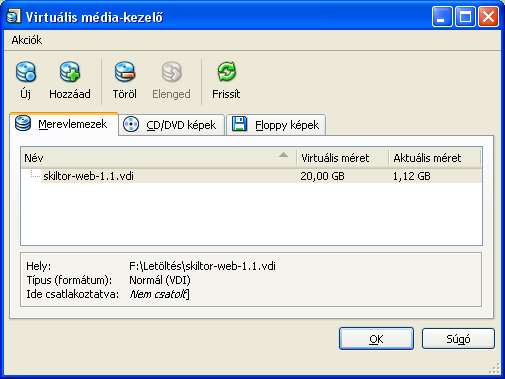
3. After you've got the vdi file you have to inform VirtualBox where it can find it. Click on "Virtual media manager" in "File" menu.
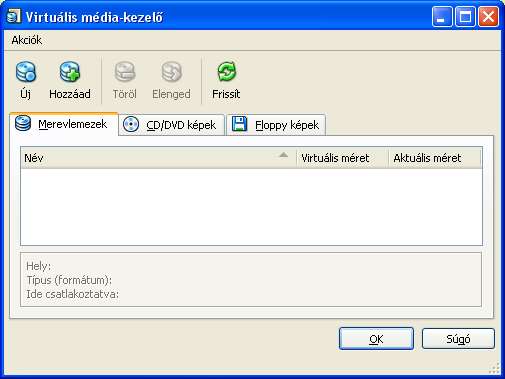
Remark: Starting with version 4.0 there is no need to register the vdi file in virtual media manager. It happens automatically during the creation of a new virtual machine when you choose the vdi file to use. So if you install version 4.0 or above of VirtualBox, skip steps 3-4-5-6.
4. In the virtual media manager click on the "New" icon. (This item is missing in version 4.0.)
It is important that the "harddisks" tab must be the active one.
5. In the popup window select the vdi file downloaded and click the "Open" button.

6. The vdi file will appear in the list of media. Close the media manager by clicking on "Ok" button.
7. Click the "New" button in VirtualBox window.
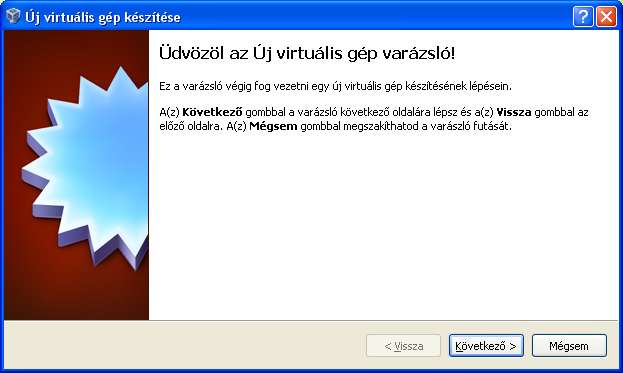
8. A wizard will start and will guide you through the steps of creating a new virtual machine. The first screen shows a greeting message. Click on "Next".
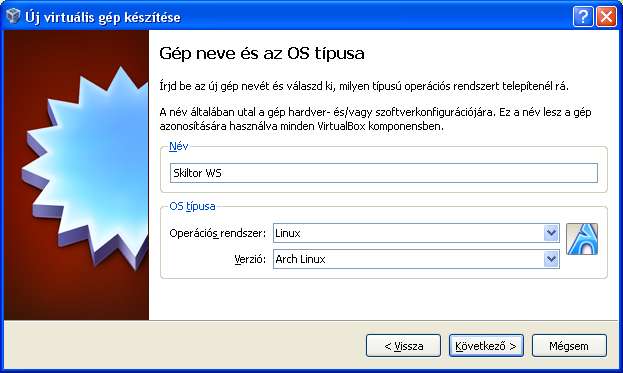
9. In the next step you can set the name of the virtual machine. (This name will be used only in VirtualBox to identify the machine. It is not related to the hostname defined in guest operating system in any way.) You can set the type of the guest operating system here too. Set it to "Arch Linux" and click "Next".
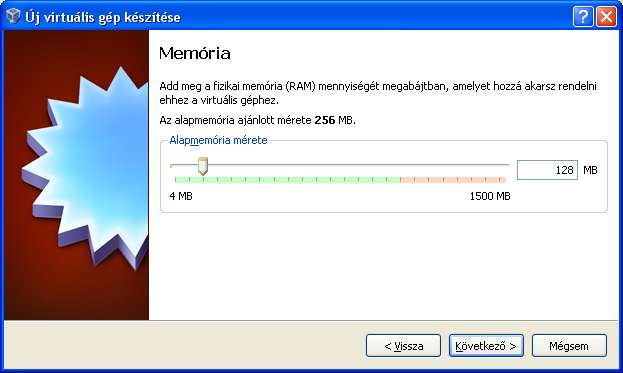
10. The next step is setting the amount of memory available for the virtual machine. Please keep in mind that the memory used by the host system plus the memory allocated for the virtual machine must not exceed the total physical memory available in the host machine, otherwise the system will operate at a VERY low speed because the host must "swap" unused memory to disk all the time. Fortunately the recommended 128M memory for Skiltor Web Server can be allocated easily from the 1 or 2GB of RAM of a modern machine without affecting the host too much. If you finished with this setting, click on "Next" button.
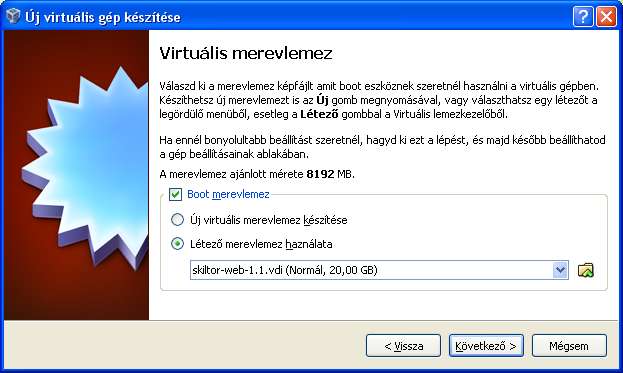
11. On the next screen you must choose which virtual harddisk should be used by the virtual machine. You can set this in three ways: you can choose one from the media manager's registered harddisks, you can create a brand new empty image file, or (by clicking on the tiny icon beside the dropdown list) you can choose a vdi file from the host's file system. (In this latter case the choosen file will be automatically registered in media manager. In VirtualBox version 4.0 and above this is the only way to register an existing vdi file.)
After selecting the Skiltor vdi file click on "Next".
12. The summary screen of the new virtual machine follows. Click on "Finish".

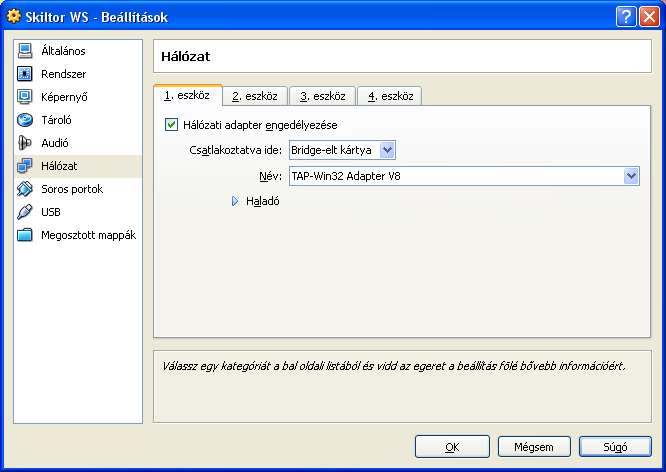
13. The creation of the new virtual machine has been ended, the machine will appear in VirtualBox's main window. But before you start it, one important thing has to be done. (At least in the case of Skiltor servers.) In order to act like a unique computer on the network, the network card of the virtual machine must be set to "Bridged" mode. To set this please search for the network settings in the machine properties window and click on it.
14. Select "Bridged" as the connection type and close the window by clicking the "Ok" button.
15. The Skiltor server is set up and ready to use. Select the machine and click on "Start" icon to launch it. A new window will appear that represents the monitor of the virtual machine. By closing this window you can power off the machine. (Although it is better to use the preferred shutdown method of the guest operating system.)